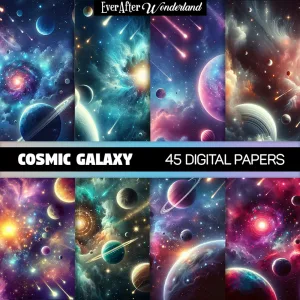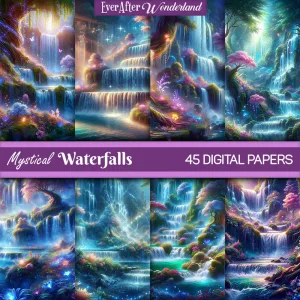
One of the most exciting things about digital papers is how versatile they are. Not only can you use them for scrapbooking and journaling, but you can also turn them into custom wrapping paper. At EverAfterWonderland.com digital papers come in 12×12 inch or 3600×3600 pixel sizes, which means they print crisp and clear. Here is a simple step by step guide to printing your own wrapping paper at home.
Step 1 Choose Your Digital Paper Design
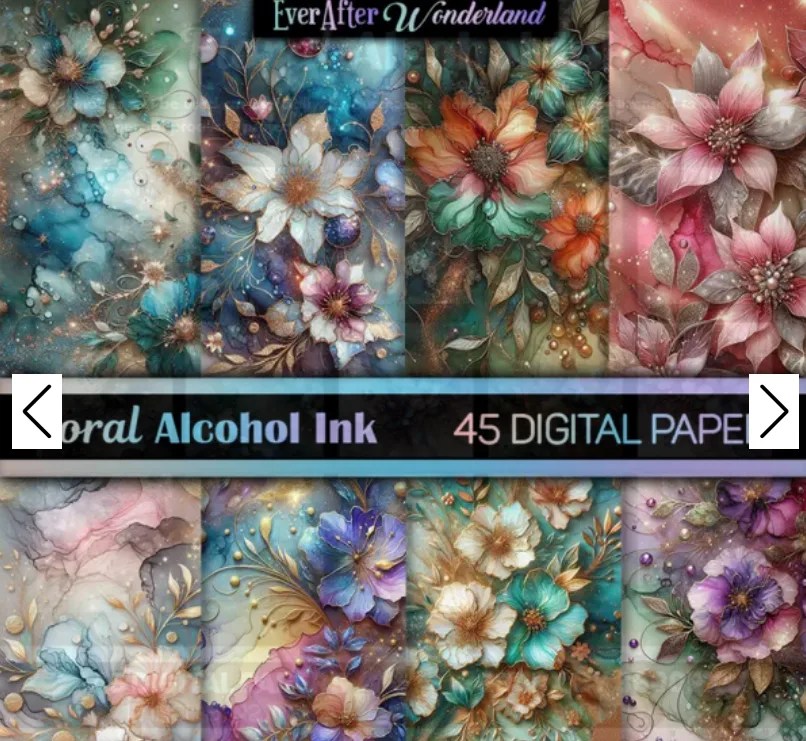
Start by picking a digital paper that matches the occasion. Florals work beautifully for birthdays, bold patterns for holidays, or even whimsical designs for children’s gifts. Search Everafterwonderland.com “Floral” top right to find our beautiful floral designs.
Step 2 Decide on Paper Size
Most home printers use 8.5×11 paper, so you can print your 12×12 file scaled down to fit. For larger sheets try printing on 11×17 paper or having them professionally printed.
Step 3 Select the Right Printing Paper
For wrapping paper, lightweight paper works best since it folds and creases easily. Matte presentation paper or thin copy paper will give you smooth results.
Step 4 Adjust Your Printer Settings
Before printing, check your printer settings. Select high quality mode for sharp results and make sure the design fits the paper without cropping important parts.
Step 5 Print and Trim
Print your design, then trim the edges if needed. If your gift is larger than one sheet, you can print multiple pages and tape them together at the back.
Step 6 Wrap Your Gift
Use your printed digital paper just like store bought wrapping paper. Add ribbon, twine, or a handmade tag for a polished and personal finish.
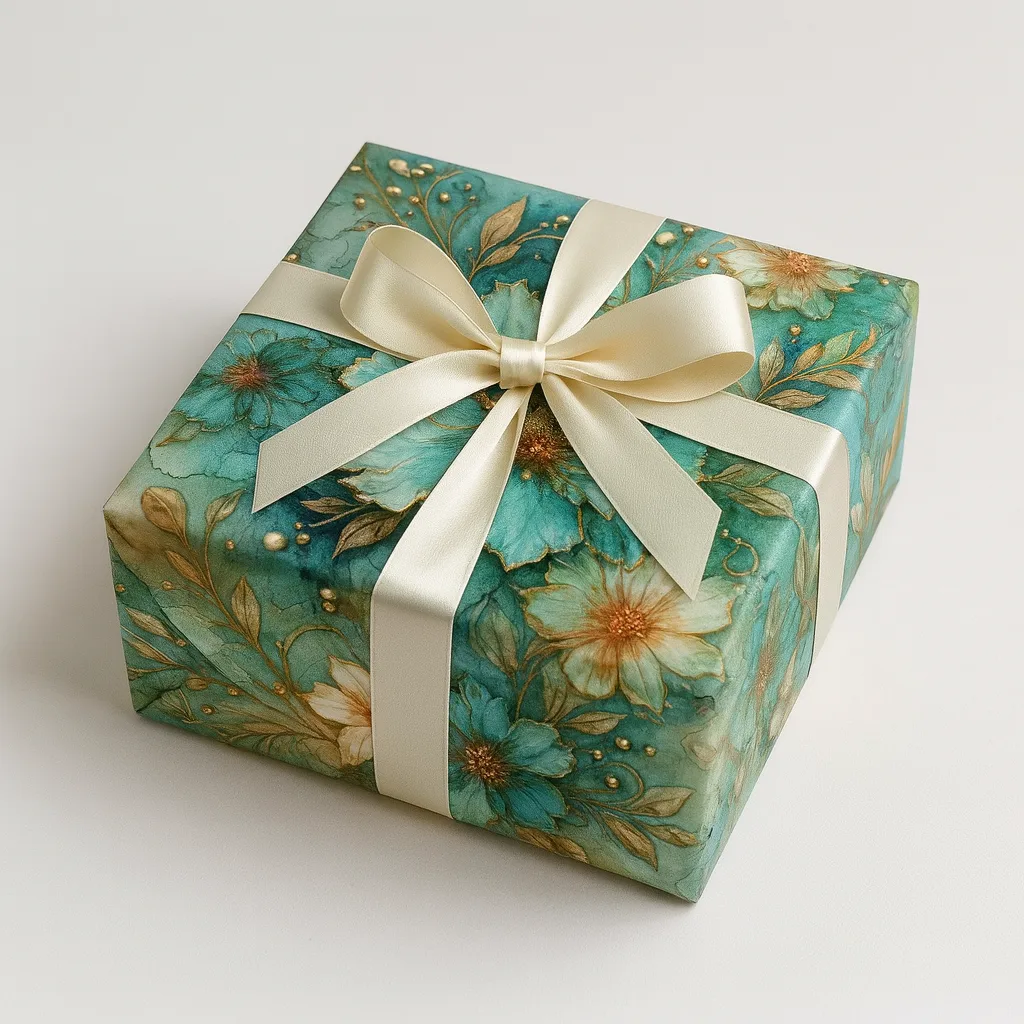
Why Print Wrapping Paper with Digital Papers
Printing wrapping paper at home lets you personalize every gift. Instead of buying the same rolls everyone else uses, you can create wrapping that matches the recipient’s personality or the theme of your event. With digital papers from EverAfterWonderland.com you have unlimited options at your fingertips.