When I started making my junk book, I didn’t want to spend forever reading long intros on how someone else did it. I like when people get right to the steps, so I’ll do the same here.
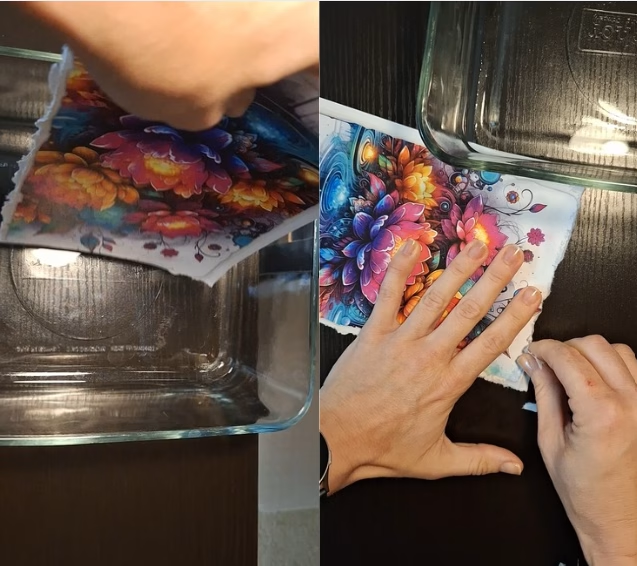
The first thing I did was prepare the pages. I wanted that old, torn look, so I folded the paper, sometimes front to back and even double-folded, dipped it in water, and then ripped the edges with my fingers. This gave me that textured, deckled edge that I really like for a junk journal.
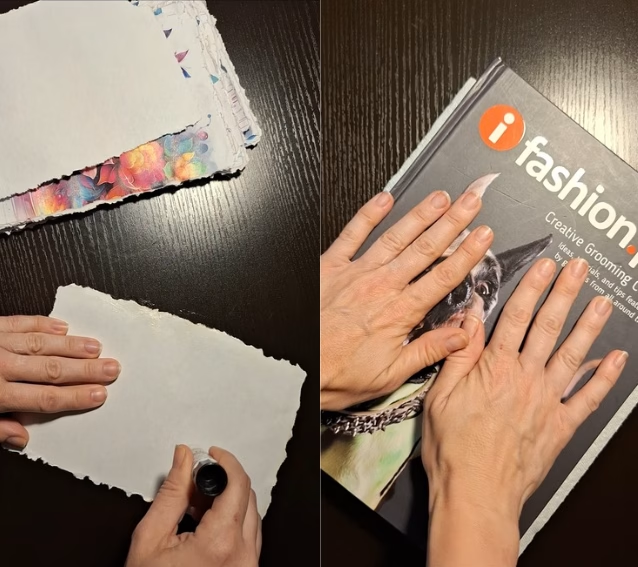
After the pages were ready, I glued them together with a glue stick. Once I had them stacked up, I pressed them under a heavy book for an hour or two to let them dry flat.
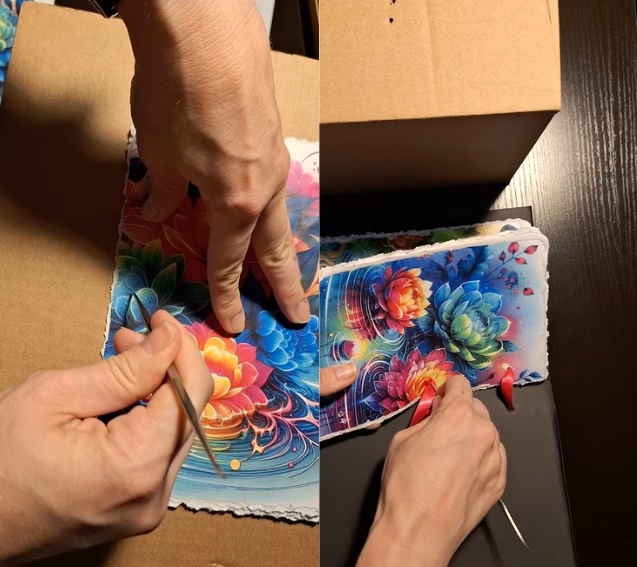
For the cover, I cut a piece of poster board just a little bigger than my pages and folded it in half. Then it was time to poke holes for the binding. What I did was take three pages at a time, line them up using a marked piece of paper, and poke through with a thumbtack. Once I had the holes started, I used a nail tool to make them bigger. You could also use a screwdriver, pen, or pencil for the same effect. I threaded ribbon through the holes, but I’ll be honest, this was the hardest part for me. I struggled to get the ribbon through cleanly, so I would recommend using a needle to guide it or even trying thread or twine if you want an easier time. Some people like sewing their books with waxed thread in a simple stitch, and if you want something even easier, binder rings are another option.
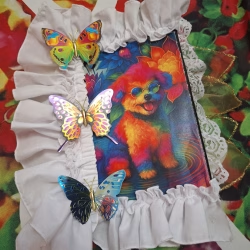
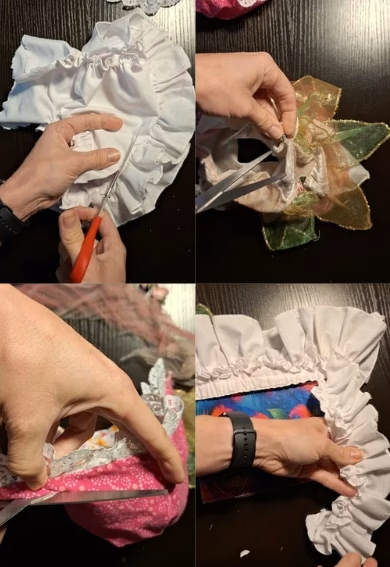
I wasn’t in love with the plain look once the ribbon was in place, so I remembered I had some doll clothes from the thrift store. I cut those up and used them as fabric borders around the cover. It turned out amazing. This made me realize that thrift stores are full of hidden treasures. Bags of scraps, lace, or little ribbons can become borders, pockets, or trims. Old music books look great when you tear out the pages, and sheet music can be a beautiful layer. You can use denim, doilies, dried flowers, or even maps to add texture.
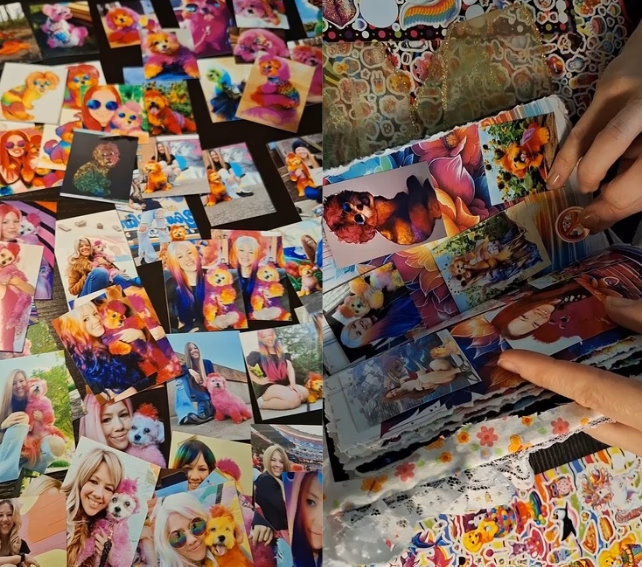
Once the base of the book was done, I glued in my photos. I had collaged them on my phone so four pictures fit on one sheet, then printed them at Walmart. I first tried using a glue stick to attach them, but it wasn’t strong enough, so I switched to my hot glue gun. That held everything in place perfectly.
At the end, I decorated the book with stickers and little details. I could have kept going with frames, borders, or even adding charms, but I liked how it looked. The nice part about a junk book is that you can keep decorating even after you think you are finished. I’m still thinking about gluing in some jewels or adding more pieces later.
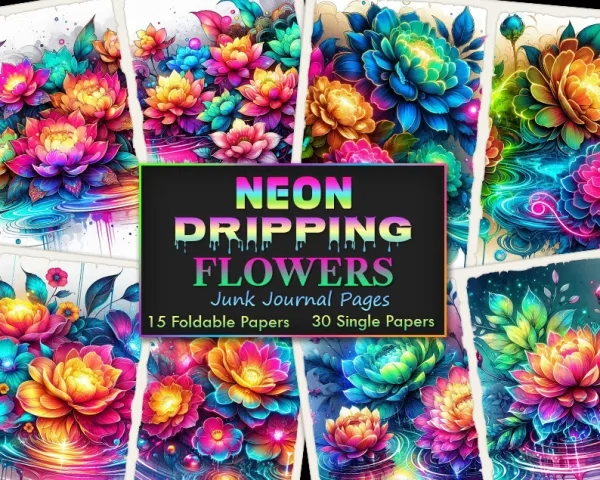
In total, the book took me about three to four hours to complete. It cost me $11 to print the digital papers at Staples and another $16 for the photo prints. I had purchased my designs from everafterwonderland.com, and the email actually went to my junk folder, so make sure you check there if you ever order. I chose the neon flowers dripping design because it was so colorful and vibrant, which was exactly the look I wanted.
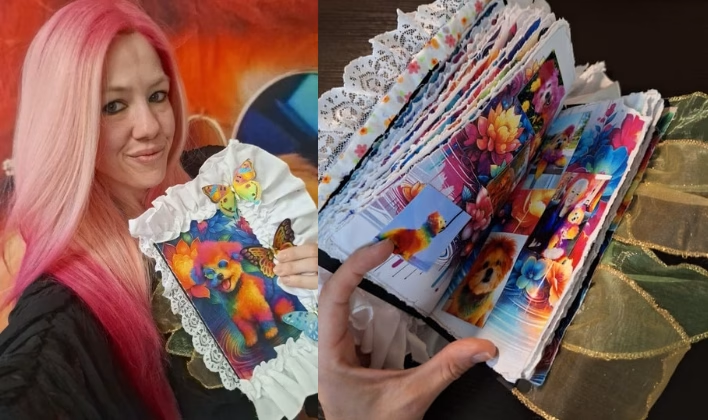
The whole creative process was a rollercoaster. At first, I thought it was going to be awesome. Then it started feeling tricky and I doubted myself. I felt like I wasn’t good at it. And then, just like that, it turned awesome again. That’s really the spirit of junk journaling. It does not need to be perfect. Imperfections are part of the charm. If you don’t like something, you can glue over it. If you make a mistake, it usually ends up adding character. The important thing is not to stop, because once you finish, you see how beautiful it all comes together.
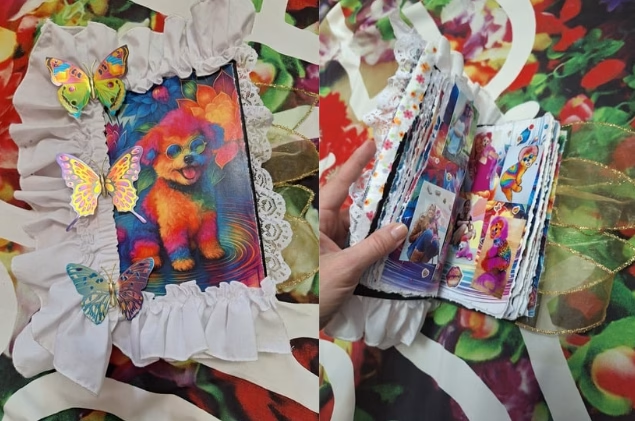
I think a junk book makes a really special gift. It is handmade, colorful, personal, and unique. Everyafterwonderland.com has other digital paper designs that would be amazing for this kind of project, and I’ll share a link so you can check them out. I am also planning more blogs and vlogs about other ways to use digital papers. You can print them for scrapbooking, wrapping paper, wall art, or even on fabric for things like pillows or tote bags. They can also be used for cards, tags, envelopes, bookmarks, or even decoupage projects. Once you start experimenting, the ideas just keep coming.